Recently I did a tutorial on how to use Travis CI as a tool to automatically test your code that you just pushed or trying to push to master branch. Making it to be compiled and tested and finally report you the status of that change.
But we can keep making it better, for example, the core library that was made on that last tutorial, I want to make it public using the NuGet feed, so everyone can make easy operation in their libraries!
But how? How are we going to compile, test and then publish that package into the feed for everyone to download it in their projects?
Well, that’s this tutorial for 😁!
What’s new?
There’s almost no changes regarding the code, the things that we need to change are packing, publication and then how we can automate it.
.NET Core CLI
We are going to use the .NET Core CLI, we used it in the previous tutorial with commands like dotnet restore, dotnet build and dotnet test.
Now we are going to use a new set of commands!
dotnet nuget
You can check the documentation for this set of tools right here, but a briefly explanation:

NuGet feed
NuGet is the package manager for .NET. The NuGet client tools provide the ability to produce and consume packages. The NuGet Gallery is the central package repository used by all package authors and consumers.
NuGet is free, so you can sign up and pick up your API key and start uploading packages. They will be uploaded, verified and then listed for everyone.
Get the API key
In order to upload your package you will need to get your API key after the sign up, so go the API keys page and create a new one.
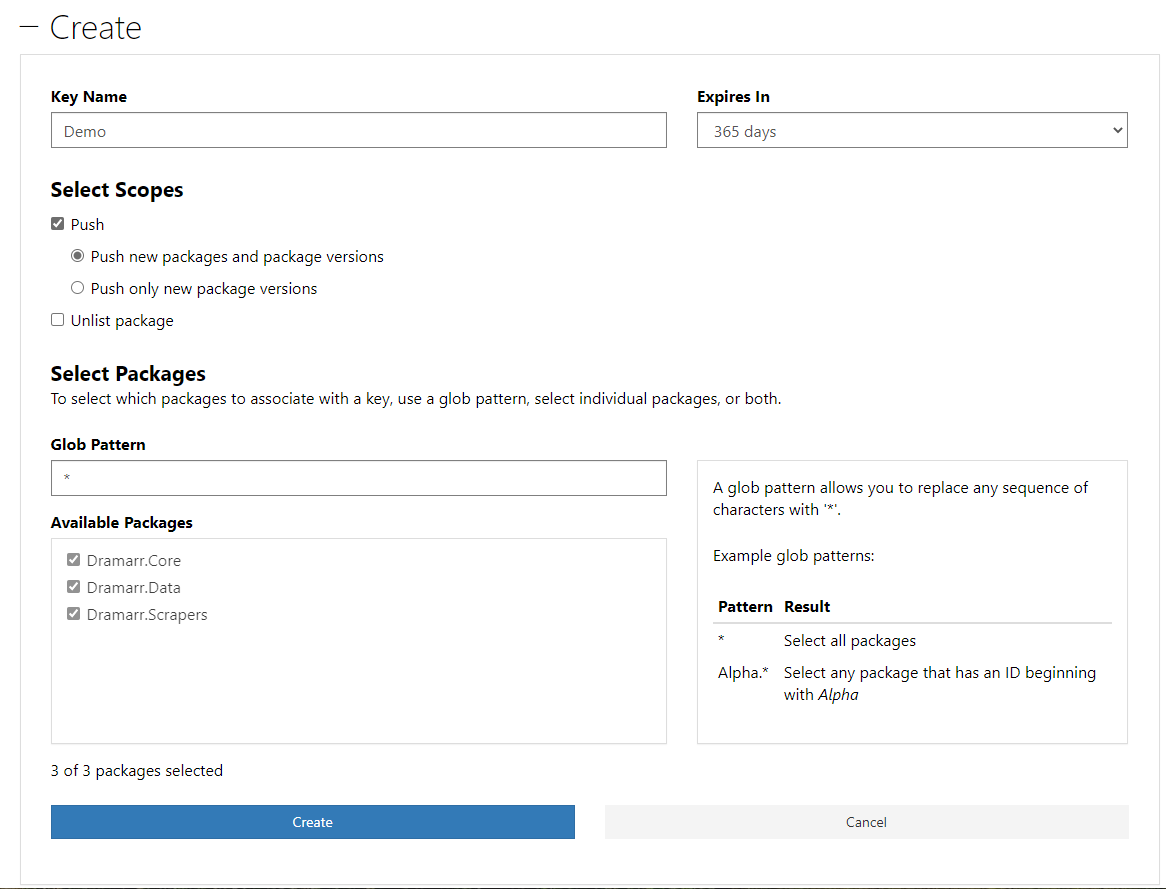
Keep in mind that the API key has an expiration of 365 days.
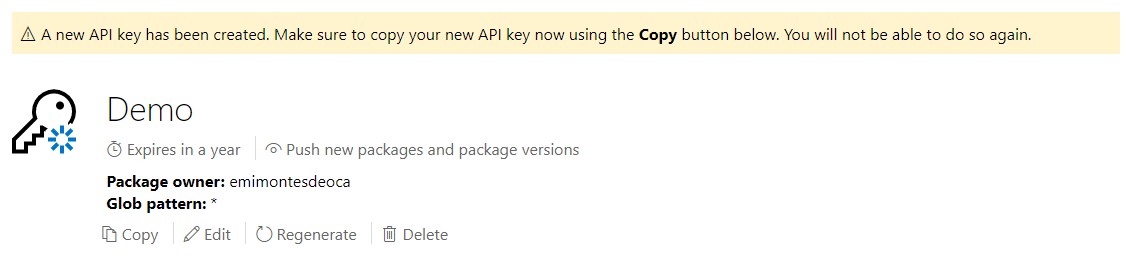
Then copy your key and store it somewhere, as said in the page, you won’t be able to see it again, and if you didn’t save it you’ll have to regenerate it.
Generate NuGet package
Now that we have the API key, our next step is to generate that NuGet package from the solution, so go ahead and open the solution where you have your class library.
I will be using the solution from my last tutorial, which has a .NET Core library class called CalculatorCLI.Core.
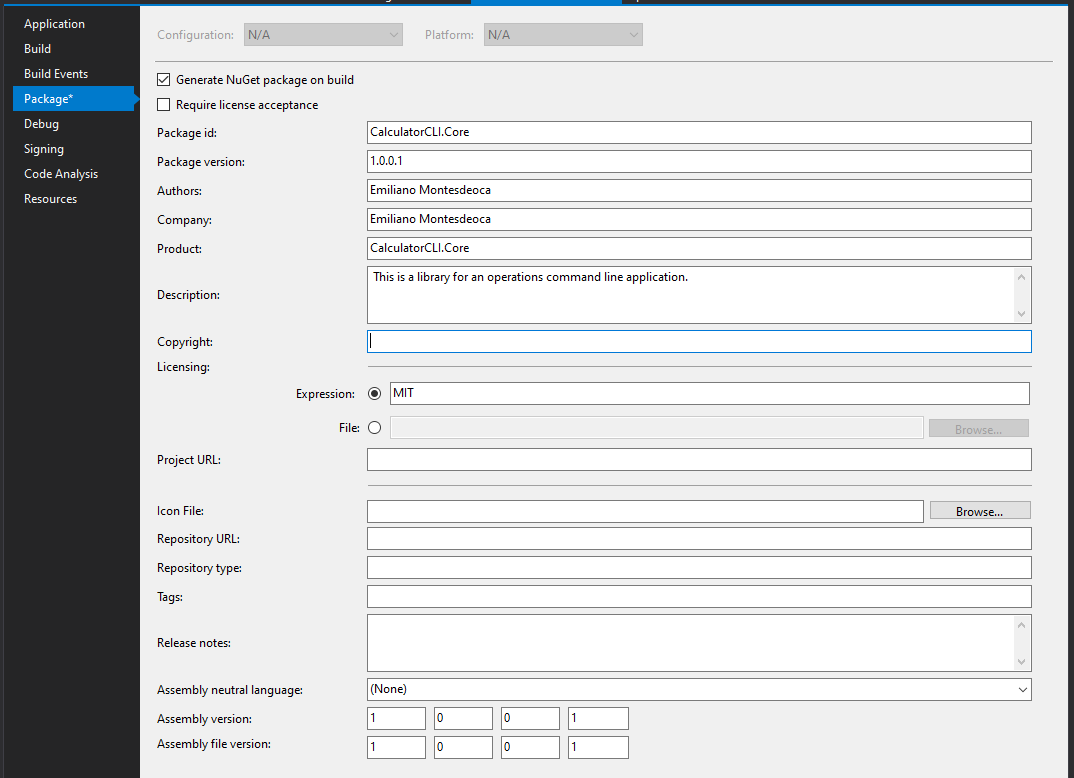
Now go to the project properties and then Package, you will see a lot of information regarding the package like the package version, authors, descriptions and more.
Next is filling this, you don’t really have to fill everything, but the important and mandatory ones are Package id, Package version, Authors and Description. Also if you try and upload the file by yourself, it will be asking for License, we will need to add it too.
Then you can save, right click in the project and select Pack.

The output will show that if everything is alright, it will print Successfully created package.
Using dotnet
As in the previous tutorial, we used different commands in order to build and test the solution. Now, we are going to add more commands to pack and publish the packages.
Those commands are:
dotnet pack -c <configuration>dotnet nuget push <package> <k <apikey> -s <source>
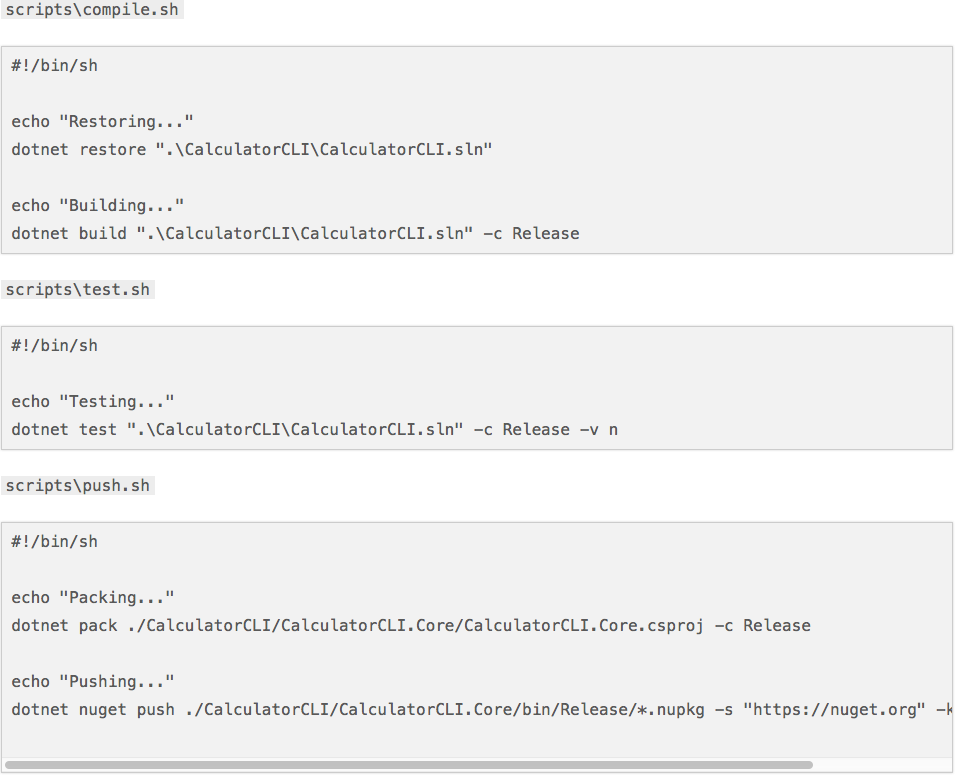
Deployment scripts
As we are going to change how the build is going to be, I belive that having different files, each of them containing a build definition depending on the enviroment, would be the best idea.
So let’s create a folder called scripts with three bash scripts in the root of the repository.
Improving the .travis.yml file
Now that we have the source code updated, we know the commands that we need to use, we need to integrate our continuous delivery with continuous integration. With that we don’t really have to do anything but code, test, review and push.
What we are going to do now, to the .travis.yml file, is the following:
- Add different
stages
- Each
stage depends on the branch
- If your build is on master, it means that the package must be updated, therefore we are going to push our package to the NuGet feeds
- If you build is a pull request, we still are going to check if the build compiles and test, but we are not going to publish it.
Stages
From their documentation:

You can find more information regarding TravisCI stages in their documentation page.
So we are going to change the file and add the stages, which ends up like this:
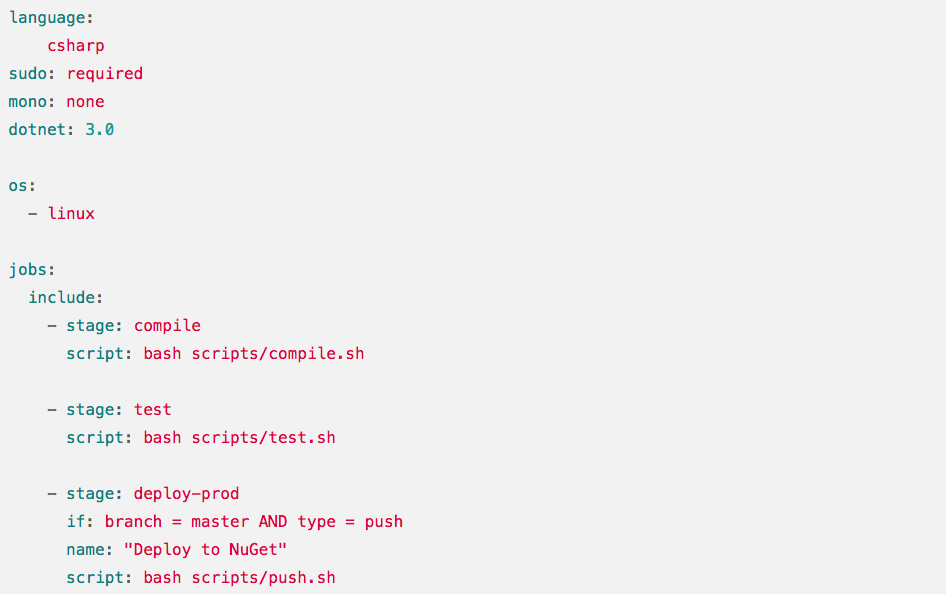
As you can see we have three different stages compile, test and push, which the last one only is going to run when the branch is master and it’s not a pull request to it, only a push.
If you don’t undestand about this, just go into the documentation and it’s explained quite easy.
With that in mind, all the pull request won’t be pushing anything to the NuGet feed.
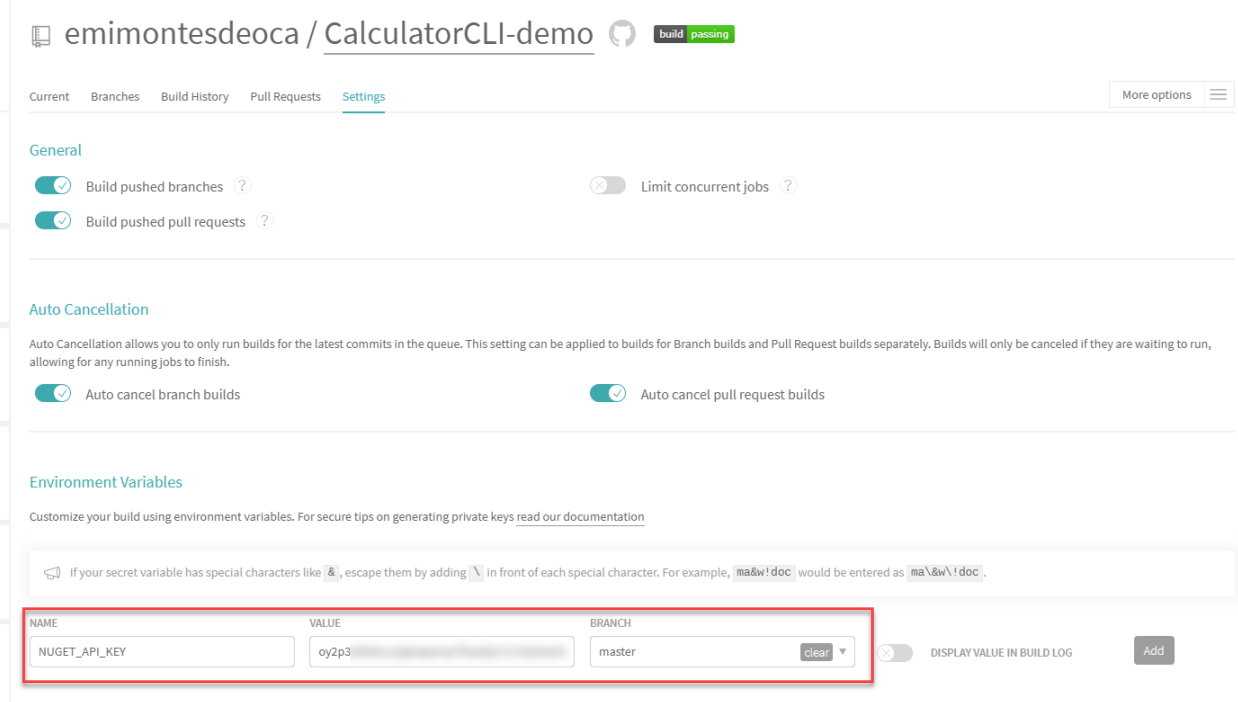
Setting the API key as an environment variable
Go to your repository build’s settings and add a new environment variable, called NUGET_API_KEYwith the value being the copied api key from the NuGet page.
Create a pull request
Now that we have everything set up, it’s time to make a pull request and check if the compilation for that pull request is ignoring out last stage.
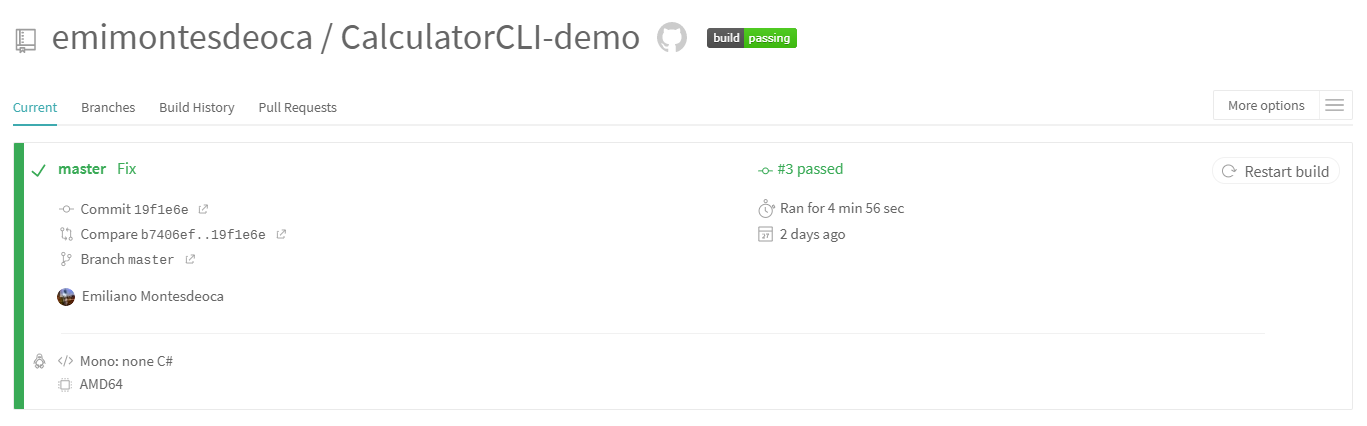
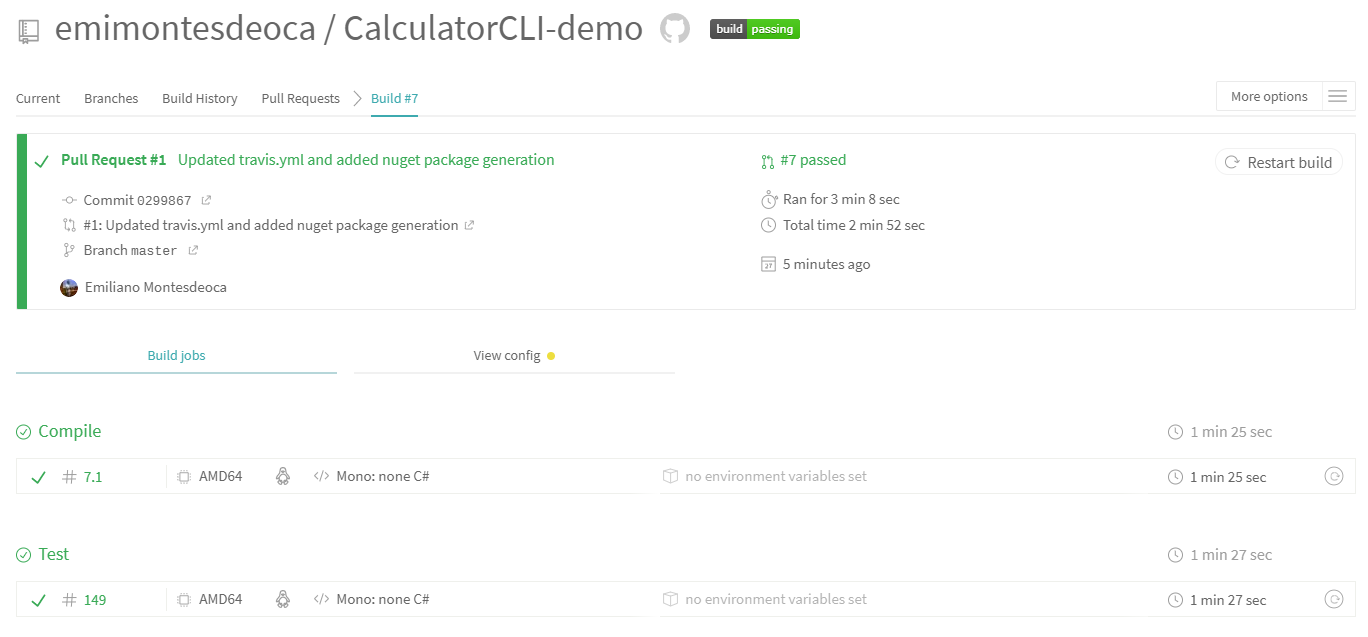
Check the builds
Right as you make the pull request, a build will be queued in the TravisCI dashboard, and as you can see that we have 2 different builds there and not three.
Now let’s accept the
pull request
and check the build again to see that we now have three jobs instead of two.
And as soon as you can see the build being queued, you can see the three jobs including the Deploy-prod at the end.
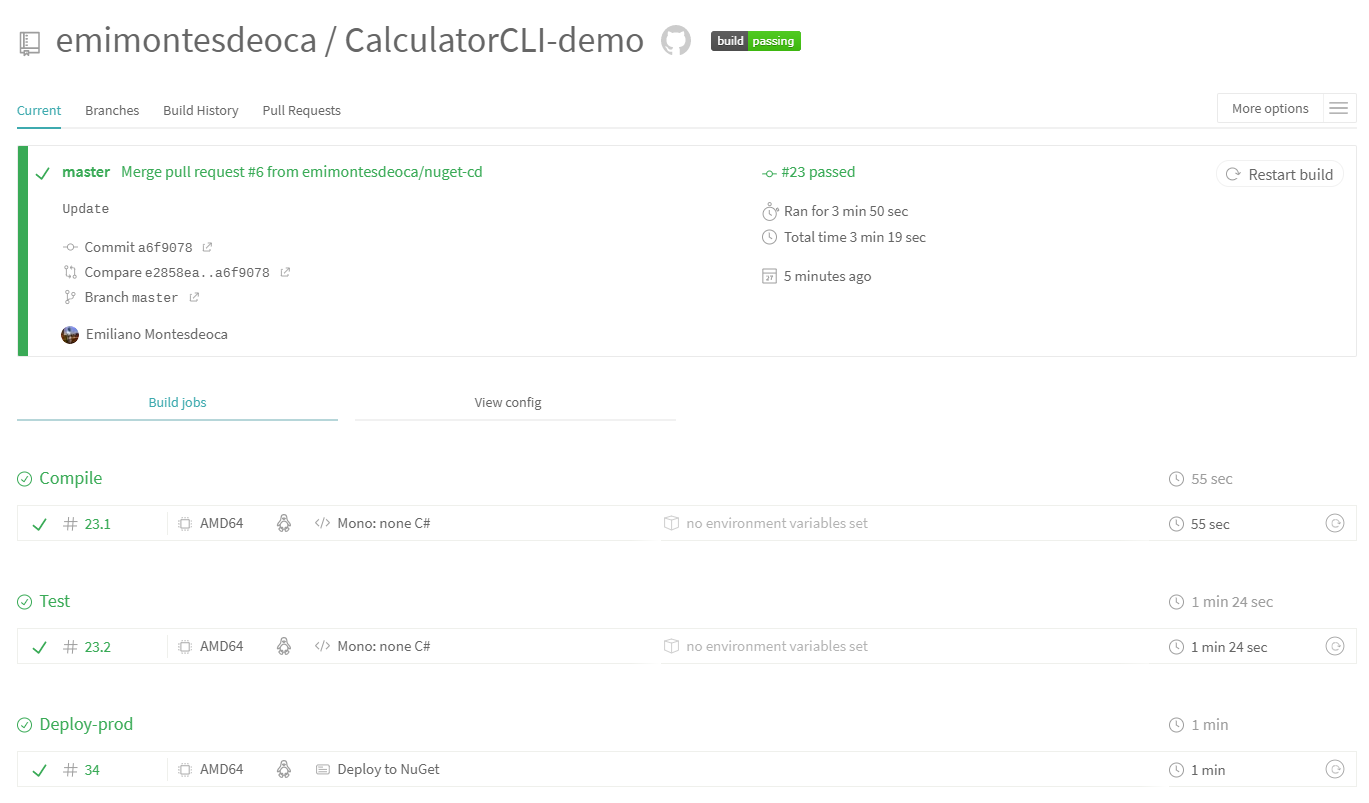
As soon as this entire build complete, you can see in the logs that the package has been pushed to the sources.

And obviously you can see it in the NuGet page
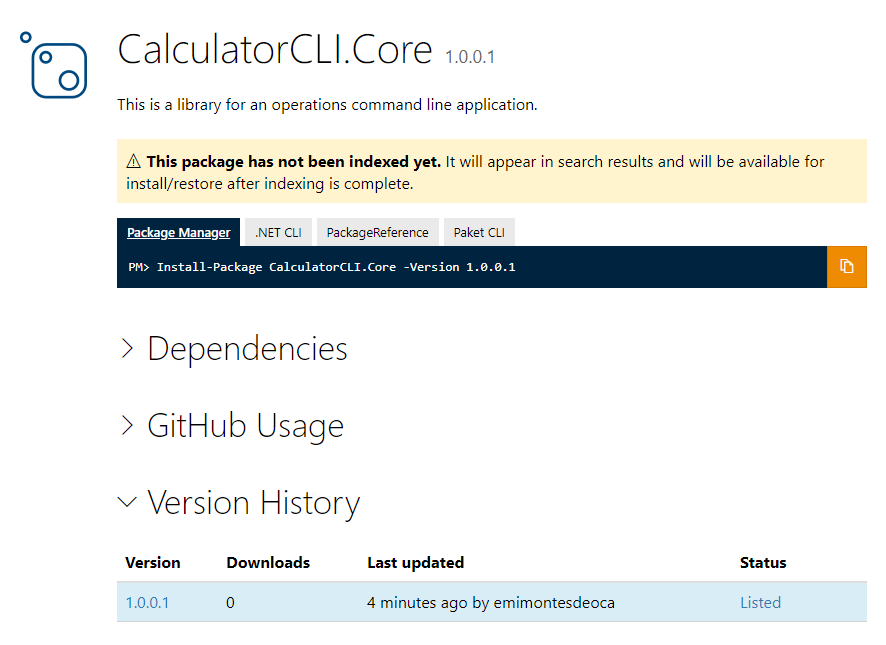
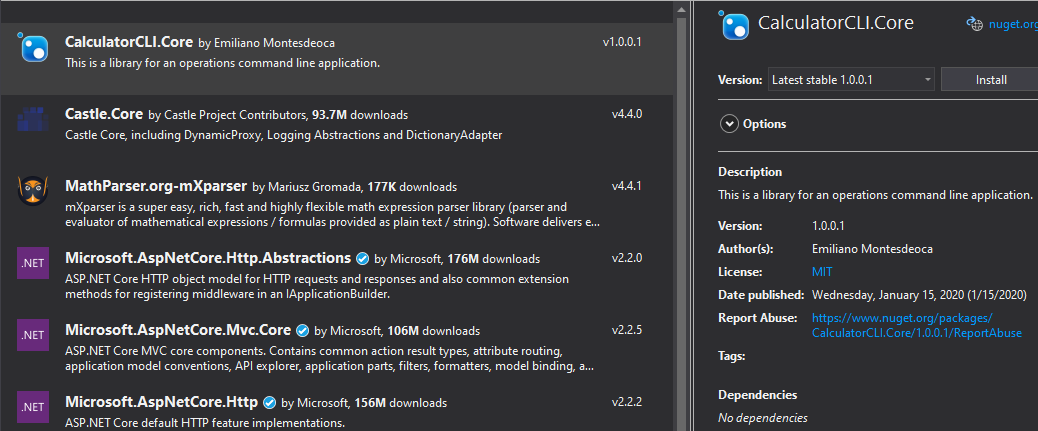
That’s it
In this tutorial we found out about how to automate our NuGet package delivery. We used some tools like TravisCI, stages and dotnet nuget.
In my opinion, even if it’s something that would take time to set up properly and could be way too complex in some cases. Investing time in this kind of techniques in order to leave everything perfect and automated worth it.
You can find the source code, with the .travis.yml file right here, if you have any questions feel free to contact me on my twitter!